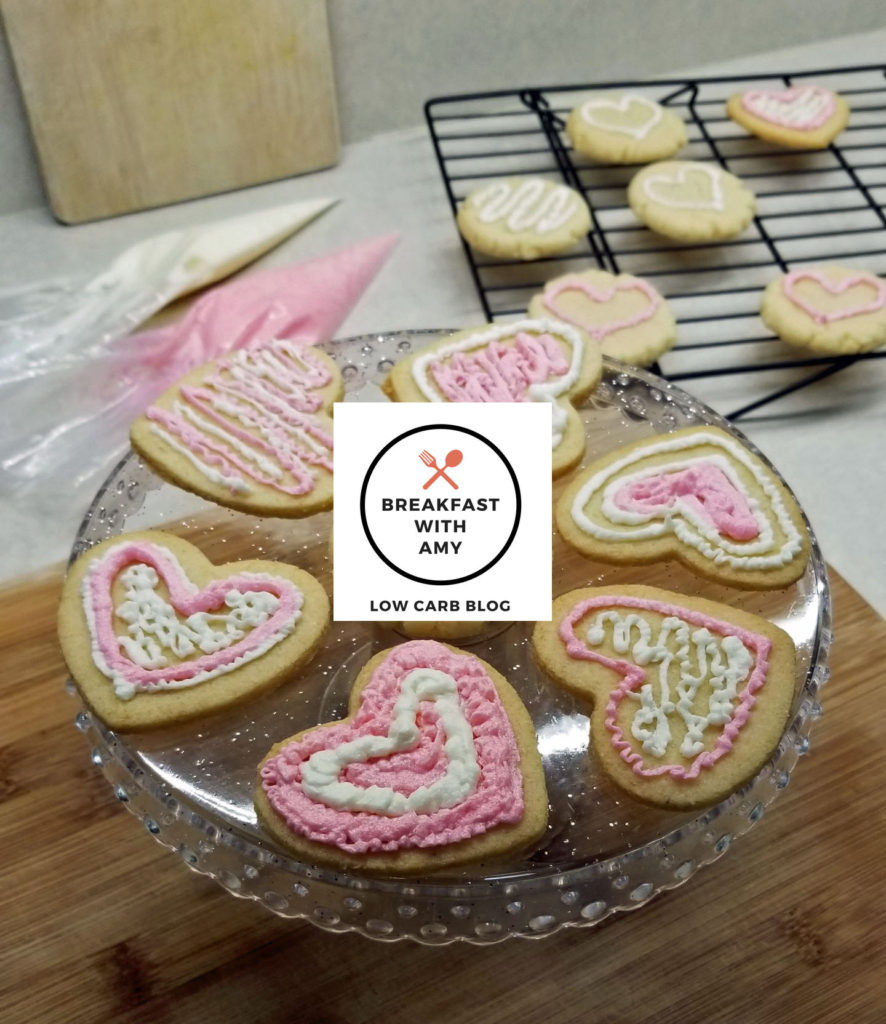
Aside from actual flowers on Valentine’s Day, I have to say that one of my favorite things leading up to Cupid’s special day is making and decorating heart shape cookies.
If there’s one thing I’ve learned from eating low carb foods, it is that the years’ long traditions we have need to take on a new twist, and this is no exception! I mean just the name of the cookies alone sends warning sirens for sugar and carb detection!!! Decorated Sugar Cookies. Ack!
Here is the new twist ~ Valentine’s Day Low Carb Cut-Out Cookies! Yep! You heard it right ~ Low Carb!
Here is a traditional decorated cut-out cookie for Valentine’s Day that is pretty darn close to a Sugar Cookie. I might have even squealed when I tasted one of these after they came out of the oven! These are amazing and #KetoHusband approved.
The next few minutes went something like this. #KetoHusband’s exact words were, “These don’t have sugar in them?” I said no in a way that I wasn’t even sure how they turned out like that?! And he promptly responded with, “Are you sure?” I confirmed, and then he uttered some noise like Hmm… then said, “I guess you got a non-sugar sugar cookie. Can I have another one?”
Please check out my Low Carb Keto Friendly Ice Cream too!
I’m excited to share this recipe with everyone! It is one that I am proud to share because cookies are my THING and I’m sure they are many other people’s THING too! I love cookies… like L.O.V.E. me some cookies! We can enjoy these instead of the Oreos that are 8g of carbs per cookie (and who eats just one? right?!). These low carb Valentine’s Day cookies are only 3 net carbs!! And they are guiltless which is PRICELESS!
Let ‘s get to it and make some cookies!
Place all the dry ingredients into a sifter. You could also use a stainless steel strainer like these if you don’t have a sifter. Any lumps of flour you have at the bottom of the sifter can be broken up with a spoon to force through the mesh. This will make sure all those lumps in the almond flour and the coconut flour get broken down nicely. You will also end up with a nice and light mixture that will make your dough have a much more even consistency, look and taste.
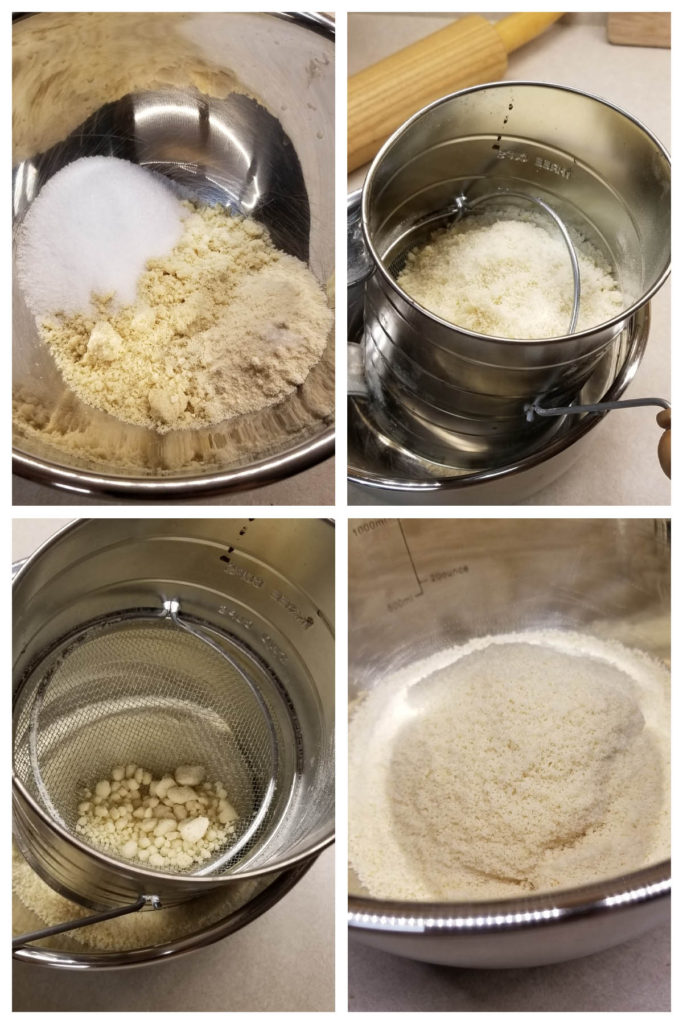
Dry Ingredient List:
- 3/4 cup almond flour
- 1/3 cup erythritol (granular)
- 2 tbsp coconut flour
- 2 pinches of course sea salt
- 1/2 tsp baking powder
Next, soften the butter and cream cheese in a ramekin. Just a few seconds in the microwave. Add the vanilla and almond extracts and give them a mix with a spatula to combine.
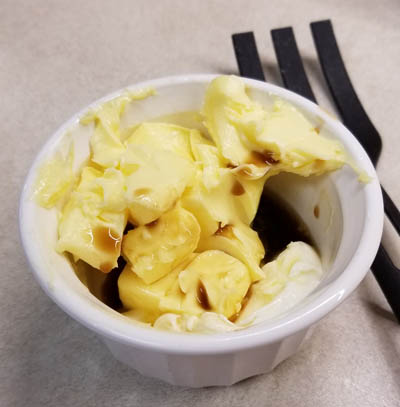
Wet Ingredient List:
- 1/4 cup butter (softened)
- 1 tbsp cream cheese
- 3/4 tsp vanilla extract (this one is propylene glycol free)
- 1/4 tsp almond extract
Add the wet ingredient mixture into the bowl with the dry ingredients and combine well. I use a handheld mixer like this one and it works great! I also use it for lots of other things in the kitchen too like chopping and blending smaller amounts of veggies or sauces.
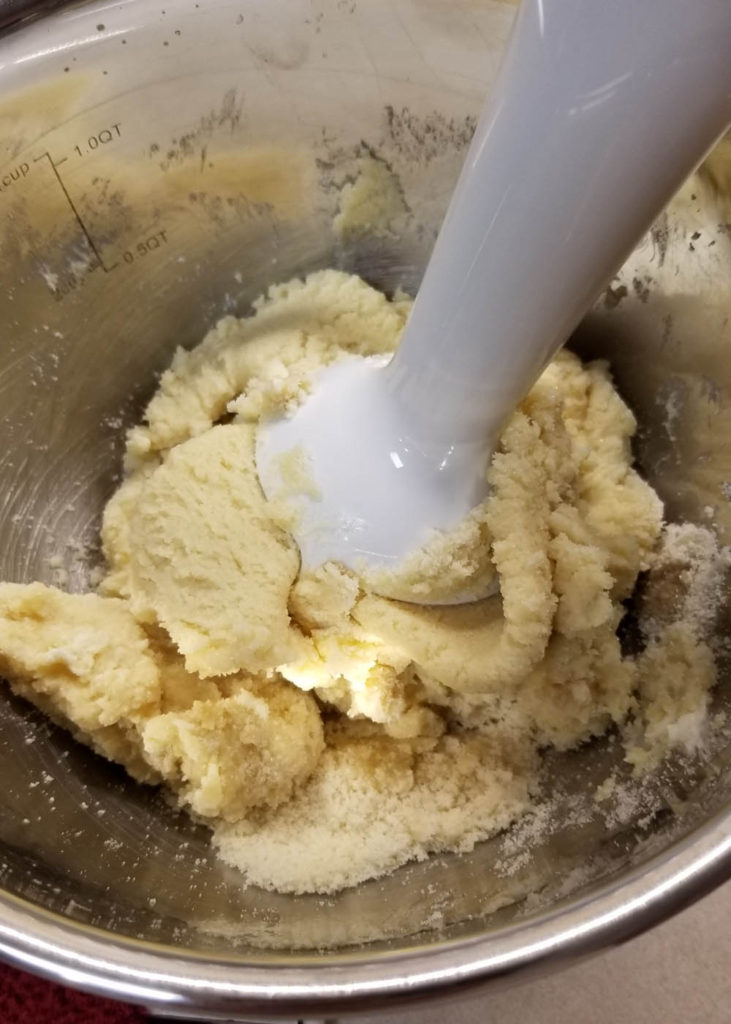
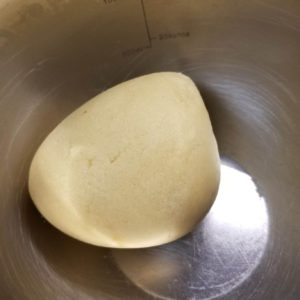
After the ingredients are combined, form a smooth dough ball and place covered into the refrigerator for an hour. This will firm the dough up some and make it easier to roll out.
On A Side Note:
I’ve had some people contact me about the mixing bowls I use. This is the link for them and the picture is below if you want to check them out. I got them for Christmas one year as a gift, and I’m about to sound like a kitchen nerd, but these are THE BEST BOWLS I’ve ever owned! They are dishwasher safe, but I like to wash them by hand (I guess you could say I’m kind of protective of them lol). They have lids and include special inserts to grate things like cheese right into the bowl.
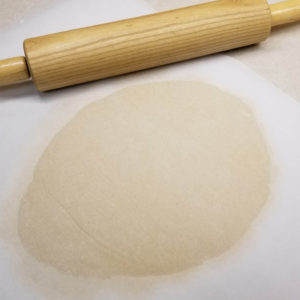
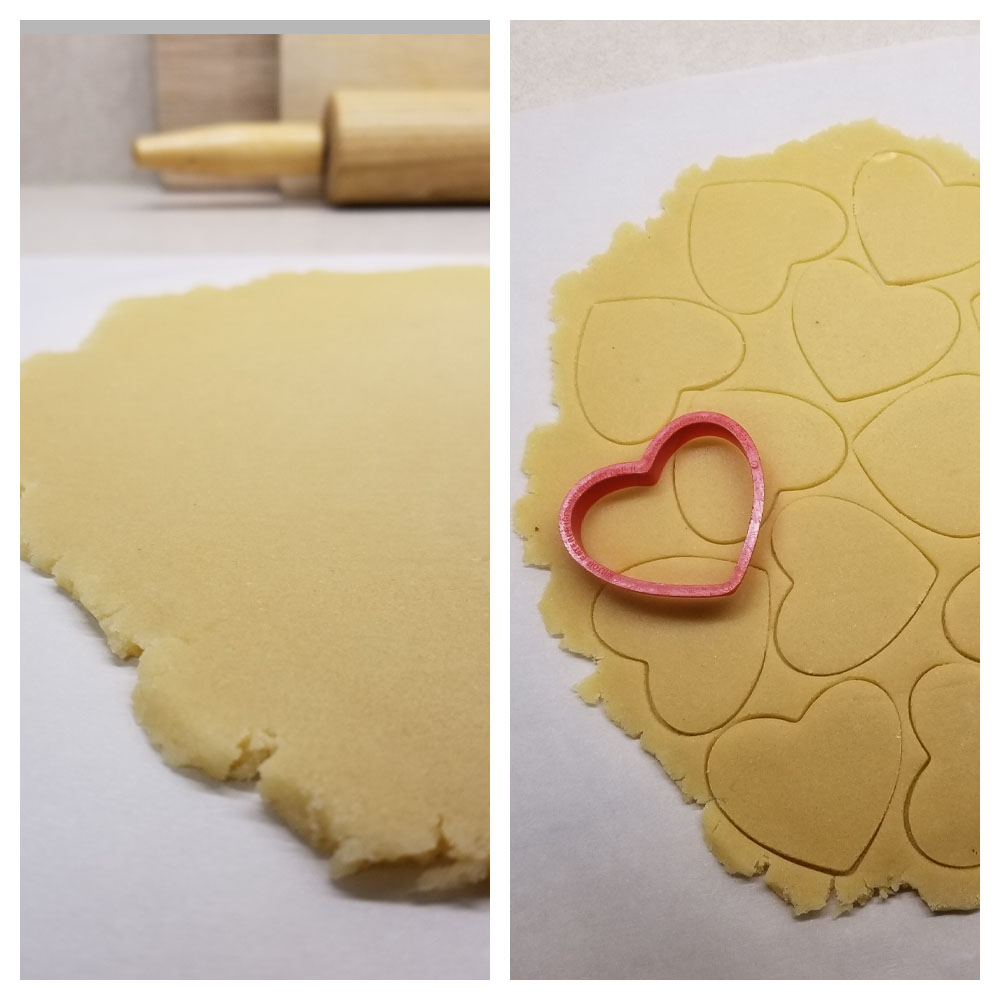
After the dough has chilled, remove from refrigerator and place on a sheet of parchment paper. Press the ball of dough somewhat flat and add another piece of parchment paper on top of it. Then, roll out dough to a thickness between 1/8 inch and 1/4 inch thick. Rolling out the dough between two sheets of parchment paper will make for an even and much smoother top to your cookie. You do not need any flour (This will not only dry out the dough, but also add carbs). The dough will not stick to the paper and it is easily removed and transferred to a baking sheet.
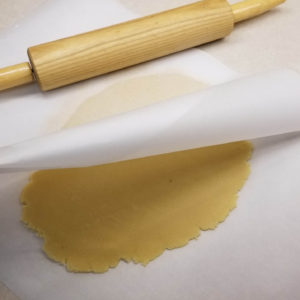
After rolling out dough to the thickness you want, peel away top sheet of parchment paper. You can now use heart shaped cookie cutters to cut out your cookies. The thinner the edges of the cookie cutter, the better your cut out will be. Some cookie cutters are really thick and it mashes the dough, more than cuts it with a nice edge.
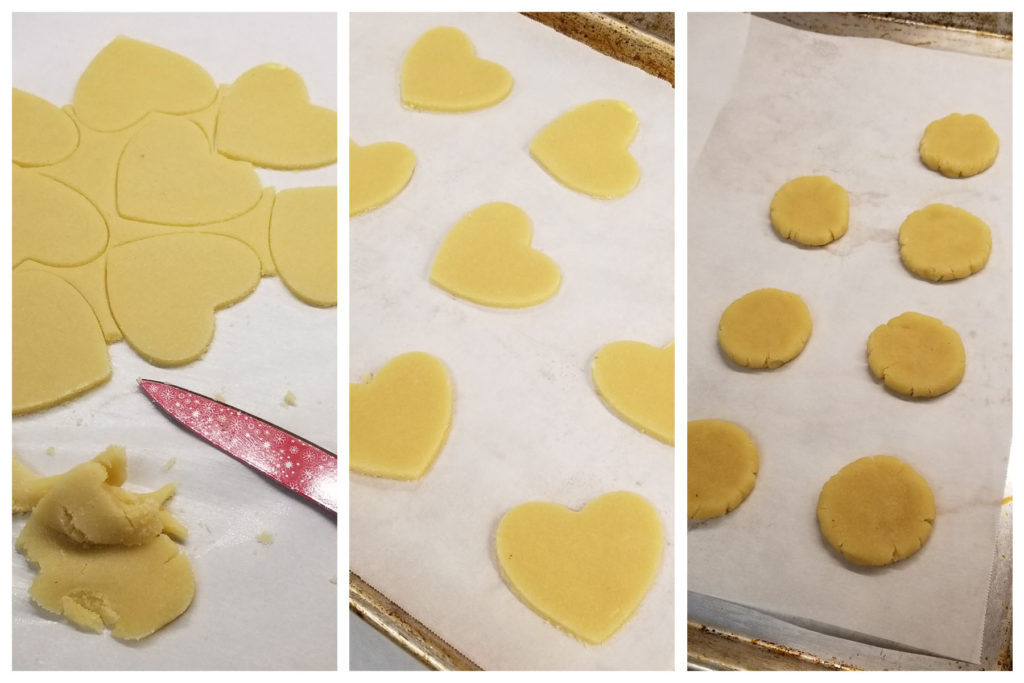
Next, transfer the cut cookies to a baking sheet lined with parchment paper. The easiest way to transfer the cookies is to use a knife to get under the cookies to help remove them from the parchment paper and support them to the baking sheet. The cookies will come right off the parchment paper because of the fat/butter in the cookies. You can either roll out your dough scraps and cut out more cookies or you can make round cookies by making a dough ball and then mashing it on the cookie sheet. Then you have round cookies to decorate as well.
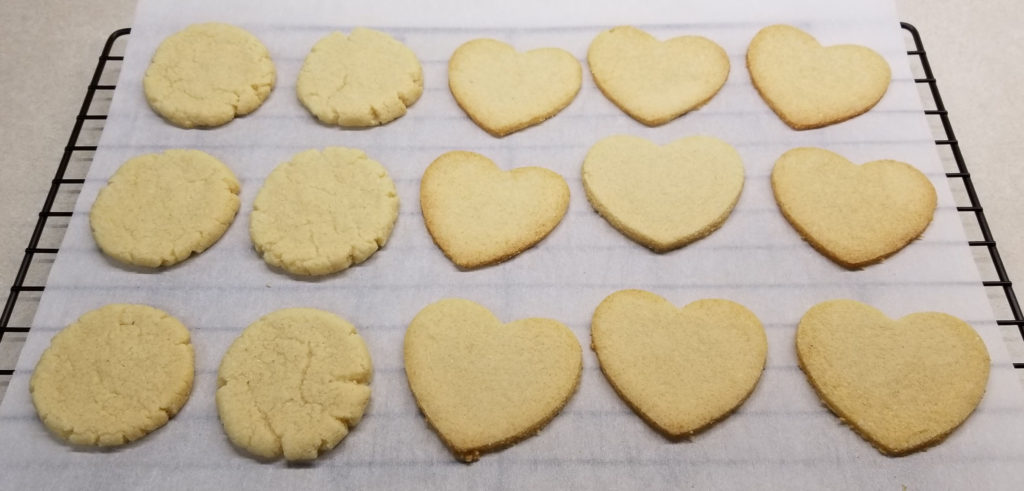
Place baking sheets with your cut out cookies into a preheated 325 degree oven and bake for 10-11 minutes, or until the edges begin to turn a golden brown.

Carefully transfer cookies to a cooling rack, and let them cool completely before you ice them. This is the cooling rack I use and it’s a real space saver when you are trying to completely cool several batches of cookies at a time.
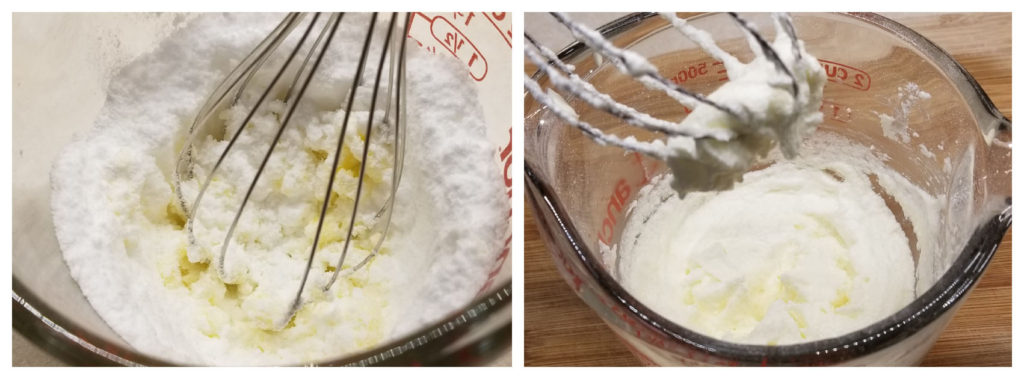
To make the icing, make sure the butter and cream cheese are soft, but in no way warm. Add all the icing ingredients into a small mixing bowl and combine well. You can use either a stand mixer with the whisk attachment or a handheld one. A handheld one works just fine for most small batches of icing. You want to make sure that you mix the icing very well, or when it’s time to decorate the icing will not pipe out onto the cookies smoothly. The icing consistency should be something similar to stiff peanut butter.
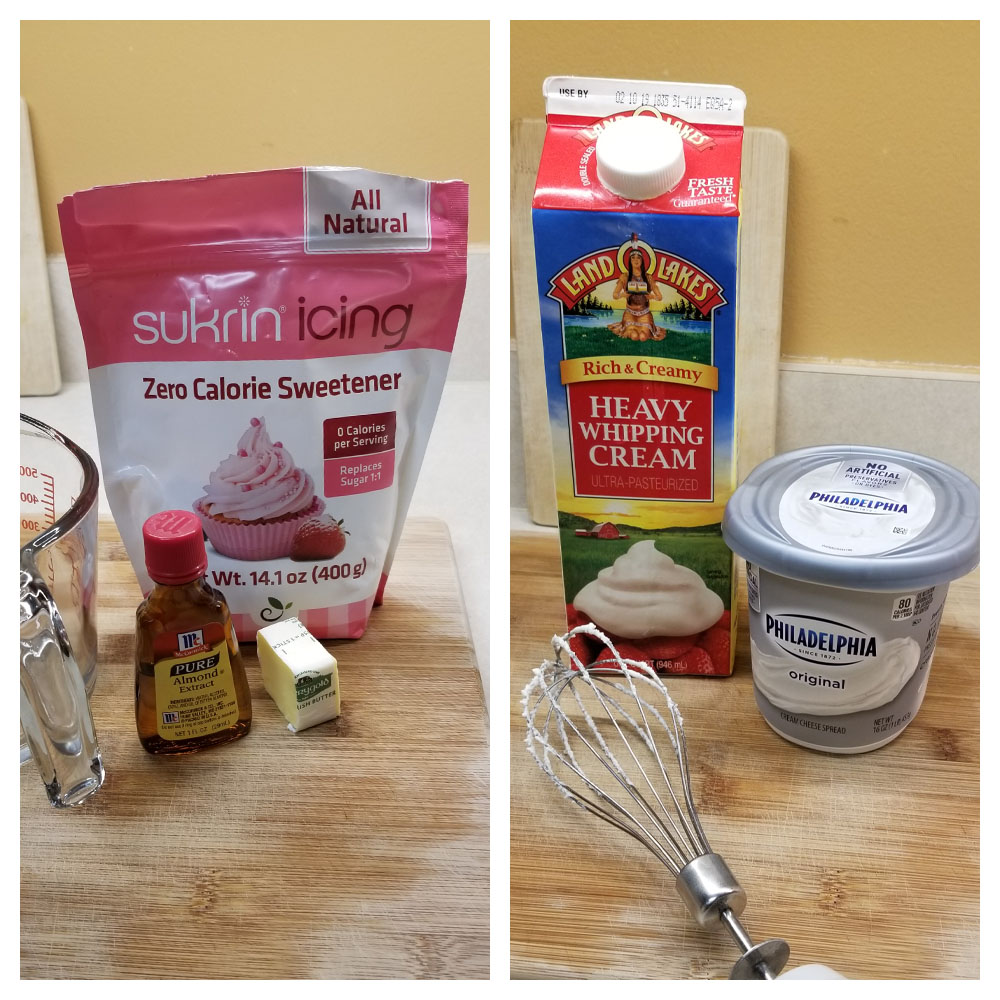
Icing Ingredients:
- 1 tbsp butter (softened)
- 1 tbsp cream cheese (softened)
- 3/4 cup Sukrin Icing (Melis – Fine Powdered Sugar Substitute)
- 1/2 tsp almond extract
- 3 tbsp heavy whipping cream
You may also want to check out my low carb Icing Recipe I use for cakes like my Easter Bunny Cake!
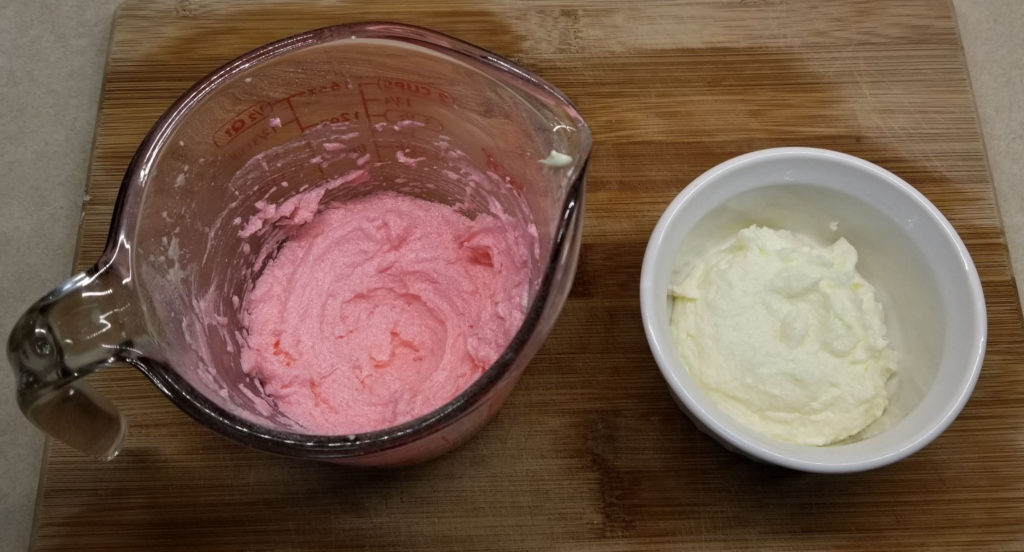
If you want to tint your icing in various colors, you will need to divide it up between little bowls. I use ramekins when I do this because they seem like the perfect size. We aren’t making a ton of icing so small ramekins are perfect, and I use them for making all kinds of things in the kitchen. (Mini cakes and muffins – Egg Soufflés – and general mixing of sauces etc.)
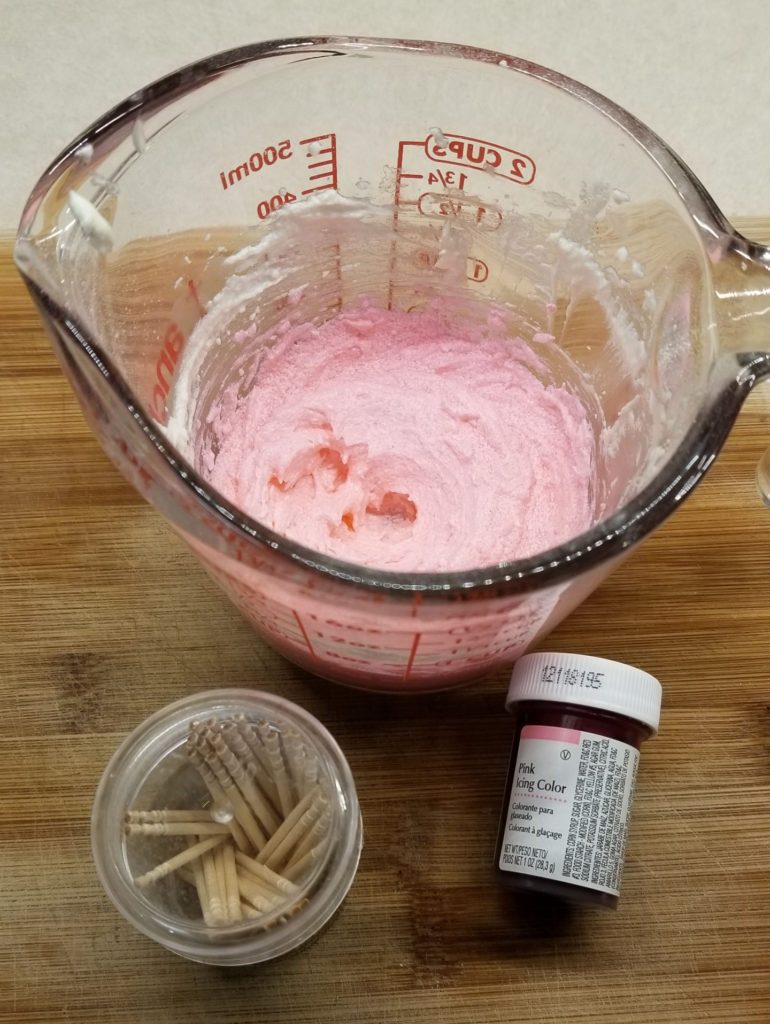
The product I use to tint icing is from Wilton and it is a gel-based food color. Normally, I’m not a fan of food color at all, but the fact that we don’t normally eat any food coloring, makes me feel ok about using some on occasion to decorate holiday cookies so they look festive! When adding the gel color to the icing, I use a toothpick to
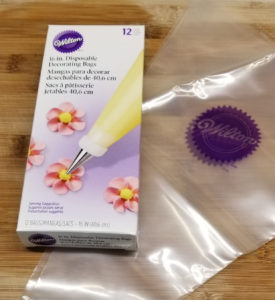
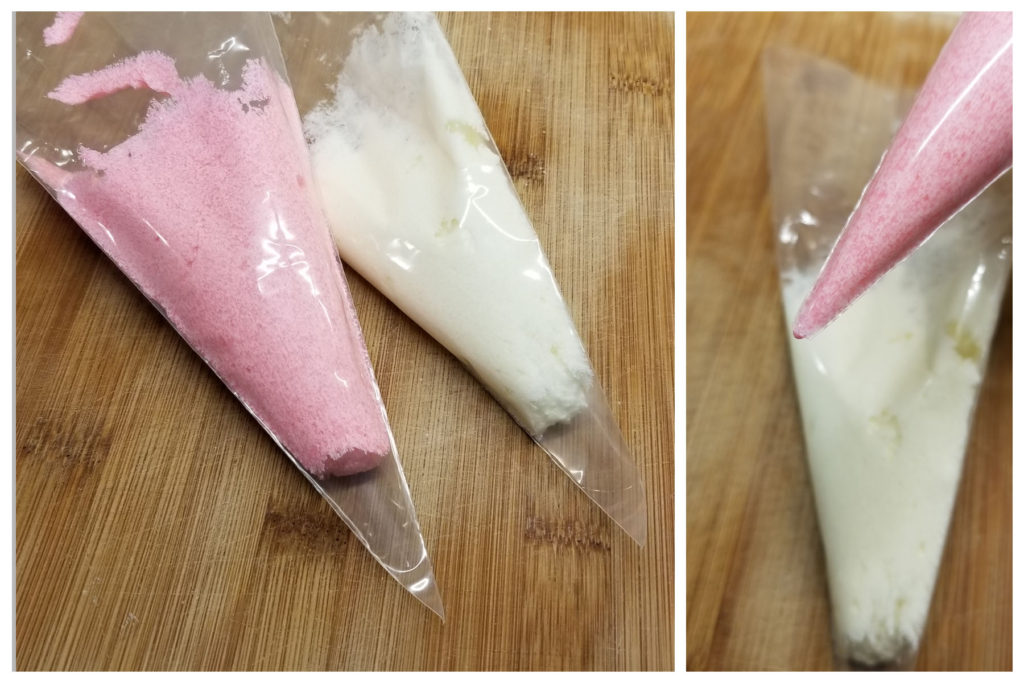
When you are satisfied with the consistency and/or color of your icing, spoon the icing into 16 inch disposable Wilton icing bags and cut the tip off. Start with cutting a small amount of the tip off, you can always cut more off the bag to make a larger hole. I prefer a relatively small hole so I can make more intricate designs on the cookies.
After you have your icing loaded in the bags and the tip has been cut off of the bags you are ready to start decorating!
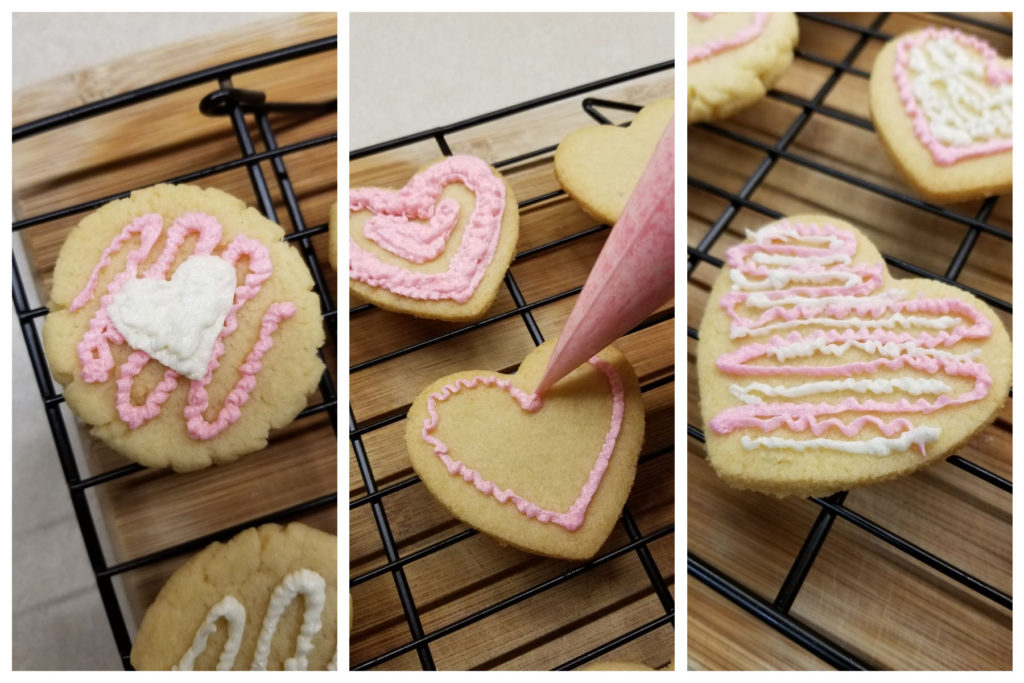
After you get through decorating your Valentine’s Day Cookies you will need to store them in a manner that doesn’t require stacking them on top of one another. Since the icing doesn’t harden like typical royal icing, your hard work will get messed up if you stack them. I would recommend storing them on a lid of a larger plastic container. Essentially you are using the container up-side-down; using the lid as the bottom, and the bottom as a cover. I have a larger deviled egg container that works great! There are some that are dual level too. Those are pretty sweet!
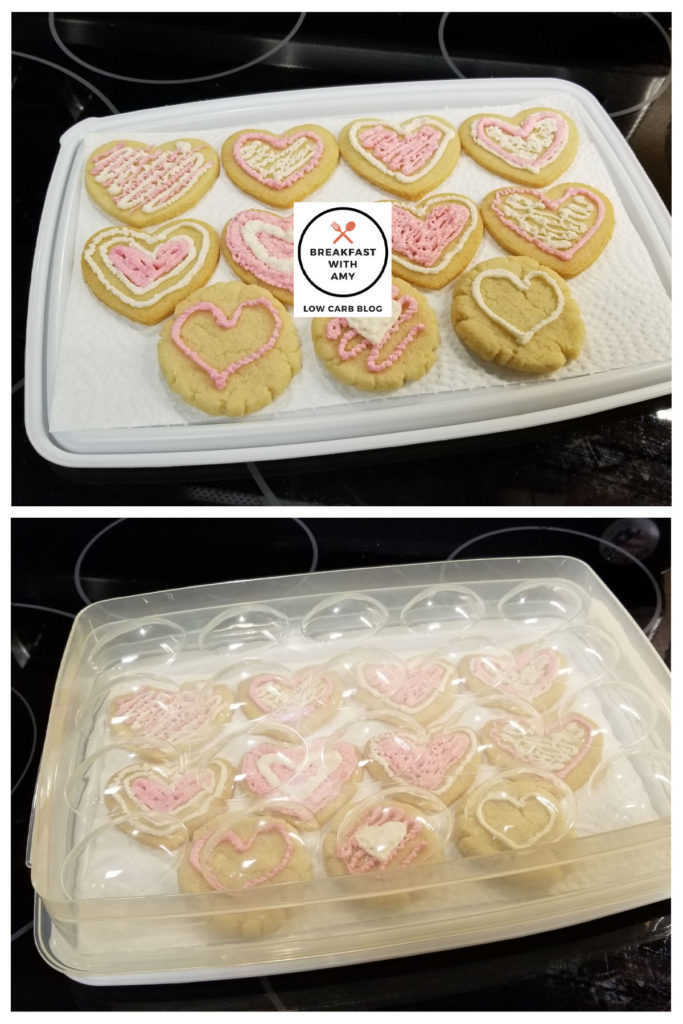
I store these cookies in the refrigerator since there are no preservatives in them. Which is a good thing!

Valentine's Day Low Carb Cut-Out Cookies
These low carb cookies are an excellent substitution for those traditional cut out cookies for holidays.
Ingredients
Dry Ingredients
- 3/4 cup Almond Flour
- 1/3 cup Erythritol Granular
- 2 tbsp Coconut Flour
- 1/2 tsp Baking Powder
- 2 pinches Sea Salt Course
Wet Ingredients
- 1/4 cup Butter (softened)
- 1 tbsp Cream Cheese
- 3/4 tsp Vanilla Extract
- 1/4 tsp Almond Extract
Icing
- 1 tbsp Butter
- 3/4 cup Pink Sukrin
- 1/2 tsp Almond Extract
- 3 tbsp Heavy Whipping Cream
- 1 tbsp Cream Cheese
Instructions
-
Sift all the dry ingredients together into a mixing bowl.
-
Mix all the wet ingredients together in a ramekin.
-
Pour wet ingredients into the bowl with the dry ingredients and combine thoroughly. You will have a nice dough ball when mixed together well enough.
-
Cover and chill dough in refrigerator for an hour.
-
After a hour remove dough from refrigerator and lay on parchment paper big enough to roll your dough out on. You do not need any flour to roll out this dough on parchment paper. (Plus any flour will change your carb count.)
-
Roll your dough out to between 1/8 and 1/4 inch thick or until you get to a thickness that you prefer. Cooking times may vary.
-
Use the desired cookie cut outs to stamp cookies and transfer to a baking sheet lined with a clean sheet of parchment paper. You will probably need to assist the dough with some support underneath to transfer to the baking sheet.
-
Any left over dough can be pressed back together and rolled out again in order to make more cut out cookies.
-
After transferring cookie dough to the baking sheet, bake at 325 degrees for 10-11 minutes, or until edges begin to turn brown. They should not be too dark around the edges. These are very fast cooking cookies.
-
Remove cookies from oven when done and place on a cooling rack. Do not decorate with icing until the cookies are cooled down, or the icing will run off the cookies.
-
After completely cooling cookies, they are ready to decorate.
-
After decorating store cookies un-stacked so that your icing designs don't smudge. I use a deviled egg container upside down and put the cookies on the lid for storage. You can use any container that has a nice size lid. Or multiple containers. Store in refrigerator.
Recipe Notes
You can use coloring gel-based food color for any color icing you would like. I like using the Wilton brand.
Based on 17 cookies, and with the ingredients I used for this recipe, the carb count for each cookie is: 3.5 grams total carbs and 3.0 grams net carbs.
Note: Carb counts can vary greatly depending on the brand of ingredients that you use.
- Recipe from www.BreakfastWithAmy.com
- Pinterest: www.pinterest.com/breakfastwithamy
- Instagram: @keto.amy_2017
- Facebook: www.facebook.com/breakfastwithamy
Don’t forget to PINterest this recipe!

Please follow me on Pinterest, subscribe to my blog or follow me on Instagram and we can keep in touch!
Support and encouragement can make a big difference!
Follow Me Here on Pinterest for More Great Tips and Recipes
We are a participant in the Amazon Services LLC Associates Program, an affiliate advertising program designed to provide a means for us to earn fees by linking to Amazon.com and affiliated sites.


