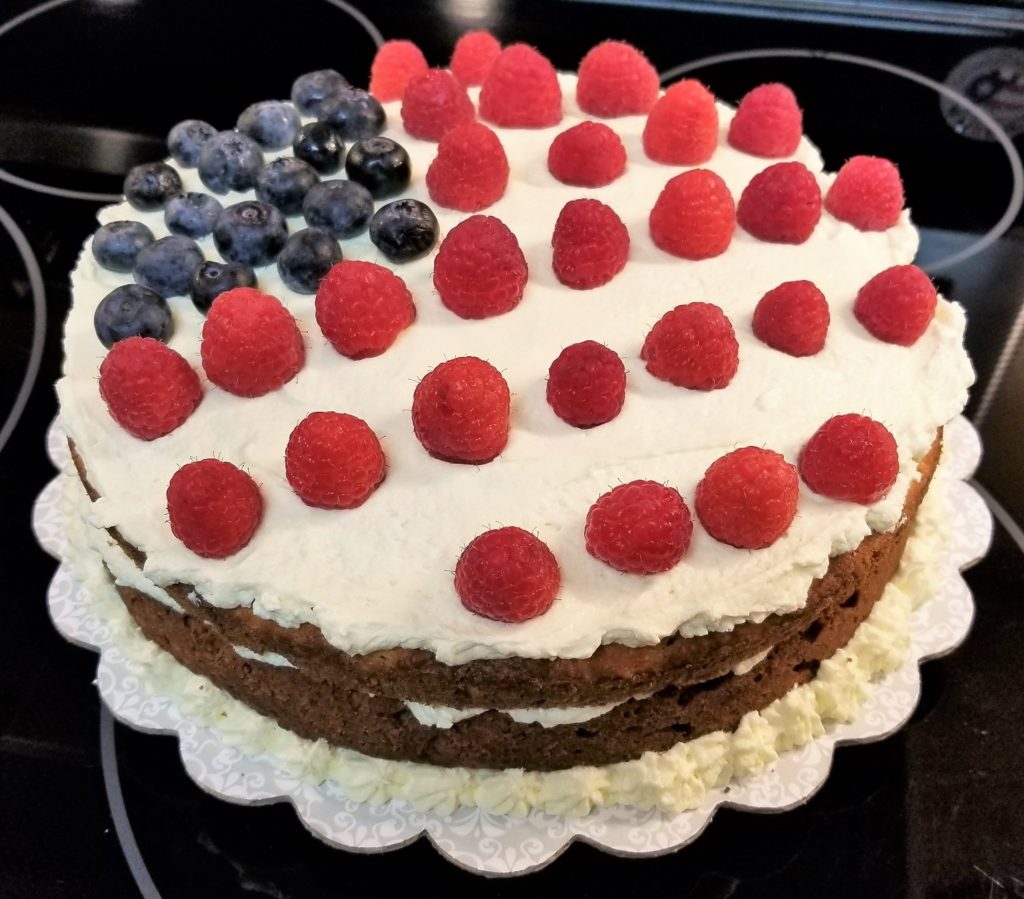
Pay tribute with this low carb patriotic American Flag Cake. It will satisfy your sweet tooth without making your blood sugar spike. Yep! This cake won’t throw you out of ketosis. And with this cake and design, you can make your Memorial Day and 4th of July dessert tables festive and enjoyable for the low carbers and ketoians.
The recipe for the cake and the icing are below, and you will also need blueberries and raspberries to decorate once you have iced the cake.
Berries are a great low carb option for adding color to your desserts without adding additional sugared decorations.

Cake Recipe
Ingredients for Cake
- 1 stick of butter softened (I use salted Kerrygold)
- 6 eggs
- 2 tsp vanilla extract
- 1/2 cup of Sour Cream (Full Fat)
- 2 cups Almond Flour (I use this)
- 1/2 cup Coconut Flour
- 2 tsp Baking Powder (Aluminum free)
- 3/4 cup granular sweetener (I use this)
- 1 tsp salt
Instructions:
- Combine all wet ingredients in a mixing bowl and blend. I used a stand mixer for this. Combine all dry ingredients in a bowl and mix them until they are all evenly distributed. Next, pour dry ingredients into wet and mix until combined. Don’t over mix.
- Butter 2 cake pans, and then cut out a round piece of parchment paper to lay in the bottom of each pan. The butter will make the parchment paper sit nicely in the bottom of the pan. This ensures that the cake comes out without breaking, and has a nice level bottom (or top – you will flip it over when time to decorate).

*TIP* – You can put the pan on top of the parchment paper and trace out the bottom of the pan on the paper to get the right size round piece cut for the bottom of the pans.
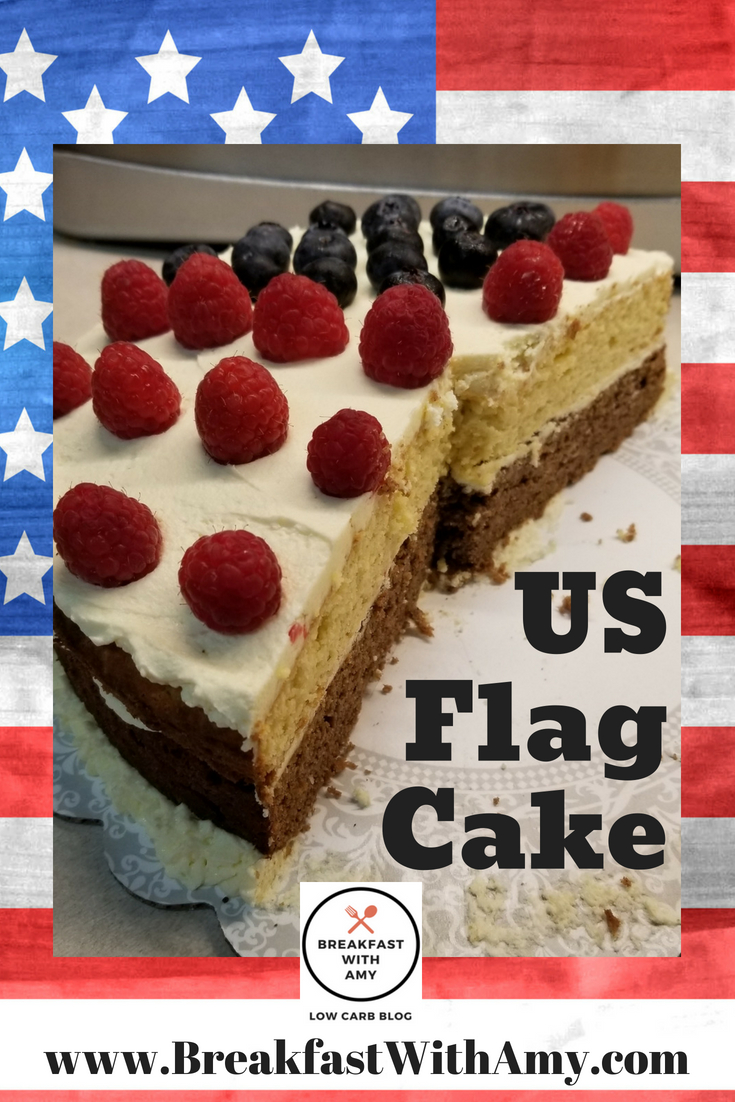
- Optional – I wanted one layer to have a slight chocolate flavor and be a different color so after I poured half of the mix into one cake pan, I added 2 tbsp of cocoa powder to the batter that was left and mixed it. Then, poured the chocolate batter into the other pan. (That is why the pictures are two-tone).

- Pour the batter into 2 regular cake pans.
- Bake at 350º for 30-35 minutes or until toothpick comes out dry.
- Let cool and then remove cake from pans and level the cake top if needed by cutting any rise out of the center of the layers.

Icing Recipe
Ingredients for Icing
- 1/2 cup butter (I use Kerrygold-salted)
- 3/4 cup Sukrin (confectionery powder)
- 1 tsp vanilla extract
- 4 tbsp cream cheese
- 1/2 tsp maple extract (I use this)
Instructions: (original Low Carb Icing post)
Put butter in microwave safe bowl and melt until softened. Add the rest of the ingredients and blend together well. It helps if you have a electric mixer or a stand mixer. The longer you beat all the ingredients together the fluffier the icing will get. After it is all combined to your liking, and you have it at a peanut butter consistency that is spreadable, it is ready to use to ice the cake.
*TIP* – If you find that the icing is too thick, you can add a couple drops of heavy whipping cream. But remember a little goes a long way in an icing mixture.

Assembly of the Cake
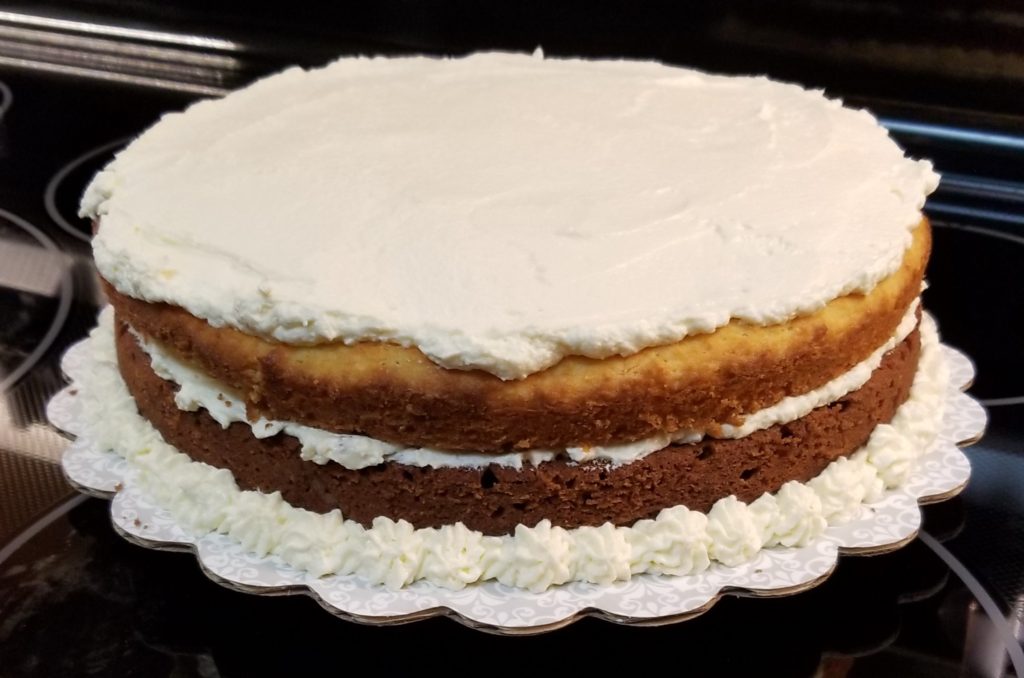
- Place a small spoonful of icing on the center of your cake serving dish, and place the first layer of cake with the flattest side down. This is usually the bottom of the layer as it came out of the pan. (You should have already leveled the top side of the cake if needed.)
- Ice the top of the first layer, but don’t ice over the sides. If you have crumbs that come up when you ice, don’t worry – they will be covered up. You should ice just up to the edges, but not over. (Remember, the sides of this cake are not iced.) Don’t over ice this layer. You want enough to see there are two layers when looking from the sides.
- Next, place the second layer, with the flattest side UP, on the first one that you just iced. (You should have already leveled this layer of cake if needed.) After you place the layer on, give it a little press, trying to make the top as level as possible. A level top will make your flag design look nicer, but don’t obsess over it. No cake is perfect *wink*
- Now it’s time to ice the top of the cake. Remember you are just icing the top. Not the sides. The goal is to make a relatively flat canvas to place your berries on. After you have your icing spread out as even as possible, go back and pull the icing from the edge to the middle of the cake top. This will keep your icing from going over the edges while you are trying to make a flat top to your icing and the cake.
- Lastly, you can put a trim around the bottom of the cake, or not. It’s totally up to you. If your cake has a nice edge at the bottom where it meets the cake board or platter, you may do without the border. If you choose to do the border you can use a ziplock bag with the corner cut off to make the icing look like it’s been piped on. I used a small cake decorating tip inside the corner of the ziplock bag to get the look I wanted. *Remember to practice piping first if you aren’t too seasoned at piping icing. You can alway practice and put the icing back in the bag. No worries.

Note: You will probably have icing left over. It will keep in the refrigerator for quite sometime and you may find other uses for it. I’ve heard it’s good on top of keto choc chip cookies. Just saying.
Decorating the Cake
When I decorate a cake, it’s always easier for me to decorate thinking in terms of quadrants or thirds. So with the flag design, I went with quadrants and started with the blue berries first.
The upper left portion of the cake is for the stars (blueberries). The area for the blueberries will be this top left quadrant, and you want to space them out, with some white of your icing showing through.
Lastly, for the stripes (raspberries). The other 3 quadrants will be for the raspberries to form the red stripes of the flag. Leave a line of white icing showing through between lines of raspberries. The size and shape of my cake allowed me to make 6 red stripes of varying lengths. Yours may vary.

We are a participant in the Amazon Services LLC Associates Program, an affiliate advertising program designed to provide a means for us to earn fees by linking to Amazon.com and affiliated sites.


Have you ever made these into a cupcake form?
I don’t think I’ve used this recipe for cupcakes. Sounds like a good idea though! I’ll have to give it a try soon! If you are wanting to try it, I would think the batter would be fine, maybe just adjust the cooking time less.